Ingredients
Equipment
Method
- Preheat the oven to 350 degrees Fahrenheit. Line three 8-inch or two 9-inch pans with parchment paper and grease them with olive oil and a paper towel.
- In a stand mixer or with a hand mixer, whip the 100g of aquafaba with the sugar until light and frothy.
- In a separate bowl, combine the milk and extracts.
- Whisk the olive oil and aquafaba in a separate bowl until light and combined; it should be pale and a bit frothy.
- I know, this is a lot of separate bowls. BUT, in one more separate bowl, sift all the dry ingredients (flour, salt, baking powder, and baking soda). Whisk to combine.
- Sprinkle the dry and milk mixture over the whipped aquafaba. Fold into the batter a few times, then add the oil mixture. Finally, fold until just combined. The batter may not be smooth, and that's okay.
- Divide the batter evenly into your pans. If using 3 pans, it should be about 450 grams per pan; if using 2 pans, it should be about 675 grams per tin.
- Bake on the center rack. This can take about 25-35minutes, depending on the size of the pan, so start the timer at about 20 minutes, and keep checking and rotating your pans from there. When a toothpick comes out with crumbs, it is ready.
- Allow your cakes to cool in the pans for 30 minutes. Then, place them on a cooling rack in the freezer while you make the buttercream and raspberry filling. This will make it easier to frost the cakes, as they can be fragile. If you plan on storing your cakes in the freezer for more than 1-2 hours, wrap them in Saran Wrap to trap moisture.
- Make the raspberry jam. Heat the raspberries and maple syrup in a small saucepan over medium heat. Using a potato masher or spoon, mash the berries as they start to soften. Drop the heat to medium-low and allow to simmer. Add the lemon juice, zest, salt, and vanilla, stirring/mashing until the water has begun to cook off. Once reduced, strain into a clean bowl. I use a spatula to push the jam through the strainer, then wipe down the outside of the strainer to get all the jam. This will take some time. It doesn't make very much, so really scrape and wipe down the strainer with the spatula! Set aside to cool.
- Make the Pistachio Paste. In a food processor, blend the pistachios, powdered sugar, and salt, if using, until crumbly. Then, add the vanilla and water. Continue to process until a smooth paste forms. (reference pictures below).
- Make the Pistachio Buttercream. Add the butter and salt, if using, to your stand mixer. With a paddle attachment, whip on medium speed for 3 minutes, until light and fluffy. Add the powdered sugar, 1 cup at a time, and continue to whip the buttercream. Start on a lower speed when adding the powdered sugar. Add the vanilla. With the mixer on medium speed, add in the pistachio paste, crumbling in a little at a time. Allow the frosting to whip until it's all combined and reaches a light, fluffy texture. Add milk a tablespoon at a time if too thick.
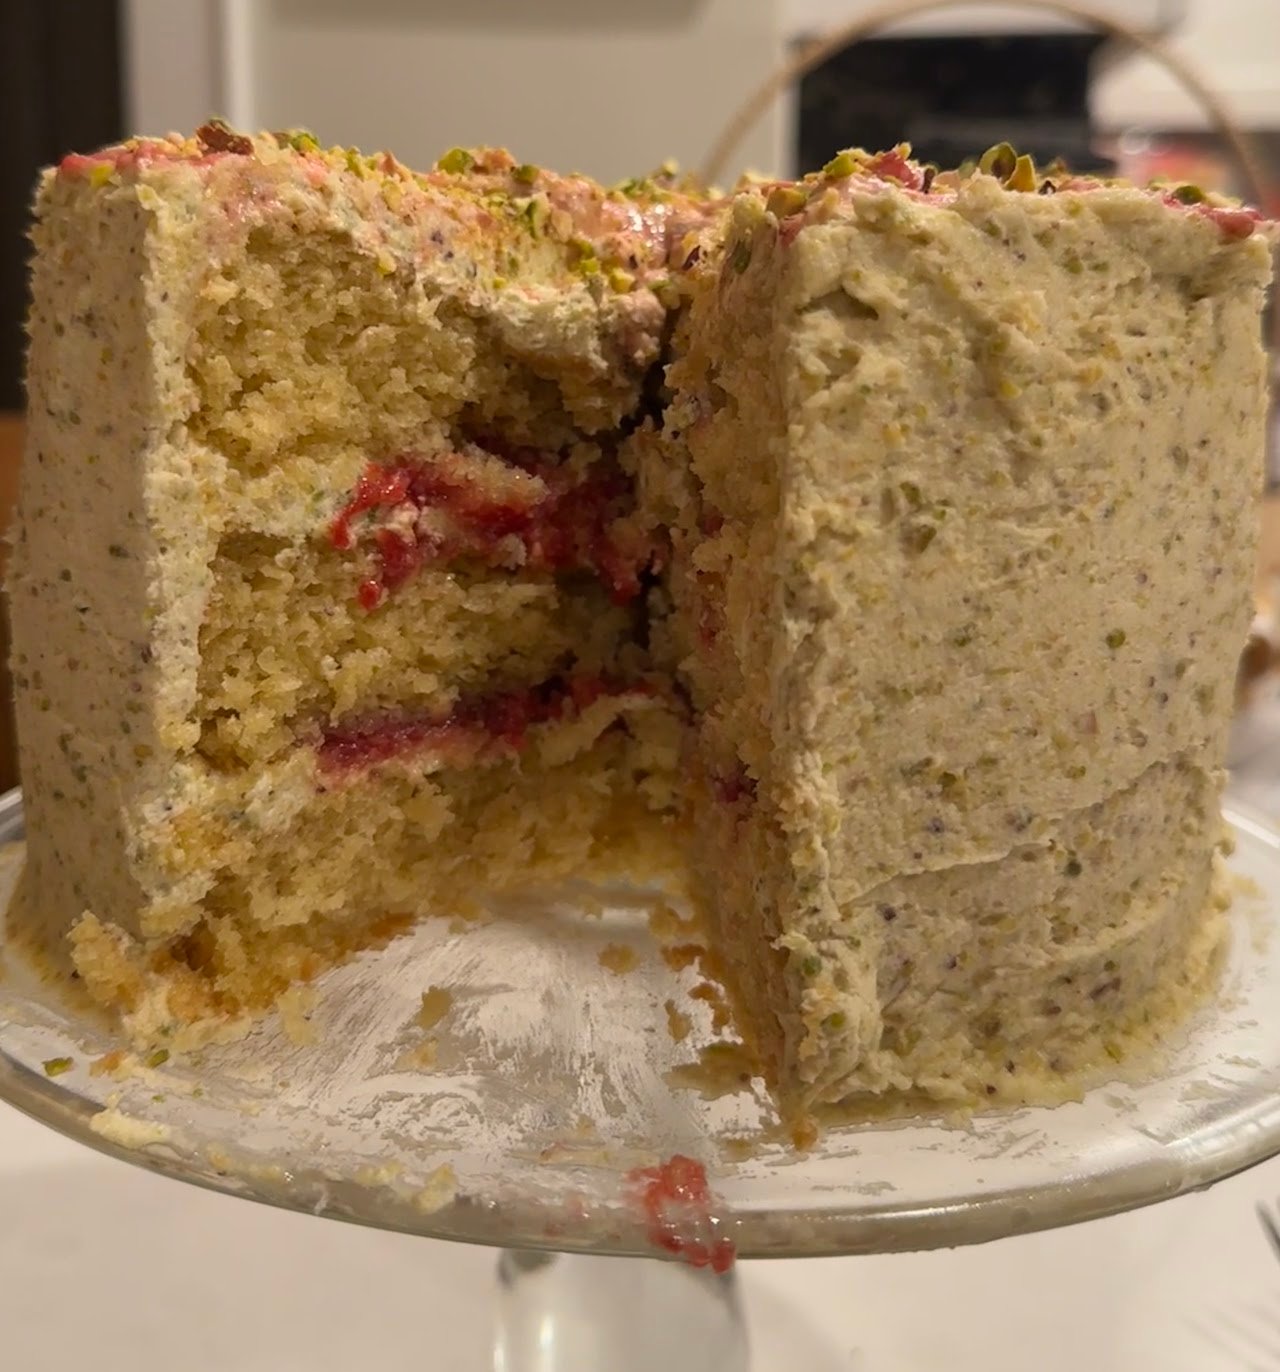
- Assemble! Place your first cake down on a plate or cake stand. Spread some pistachio buttercream on top, creating a rim around the edge of the cake. Make a "dam" around the edge of your cake to hold in the raspberry jam. If using 3 cakes, fill half of your jam in the center of the cake. If using 2 cakes, put all the jam in the center of this layer. Stack the next cake on top and repeat the filling process. Finally, add the last cake and begin to frost the outside of the cake.
- Enjoy! Keep refrigerated when not eating, and it can last in the fridge for about 5 days, covered tightly in Saran Wrap.
Video
@elizasveganbakes 🍇🫒🍰 olive oil, raspberry, and pistachio cake! full recipe on my website 💌 #oliveoil #cake #vegancake #oliveoilcake #pistachiocake
♬ original sound - n 3^°7 !
Notes
Can I halve the recipe? Yes, I tested this recipe for the first time by halving it, and it turned out just as good. I baked it in two 6-inch pans.
Can I make it ahead? Yes. All the components can be made ahead of time. I usually make the pistachio paste and raspberry jam the day before, storing them in a container in the fridge until I make/ assemble the entire cake. The cakes need to be frozen after baking, so feel free to make them the night before, wrap in Saran Wrap, and freeze overnight. Note that frozen cakes need to be left out the next day for a few hours before assembly, as you don't want to cut into a frozen cake.