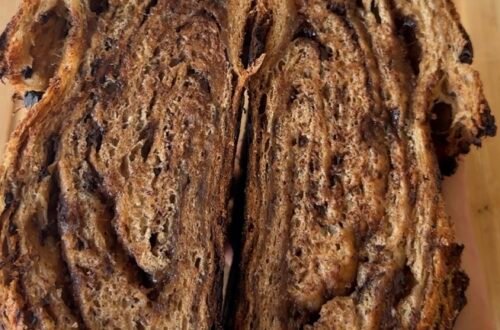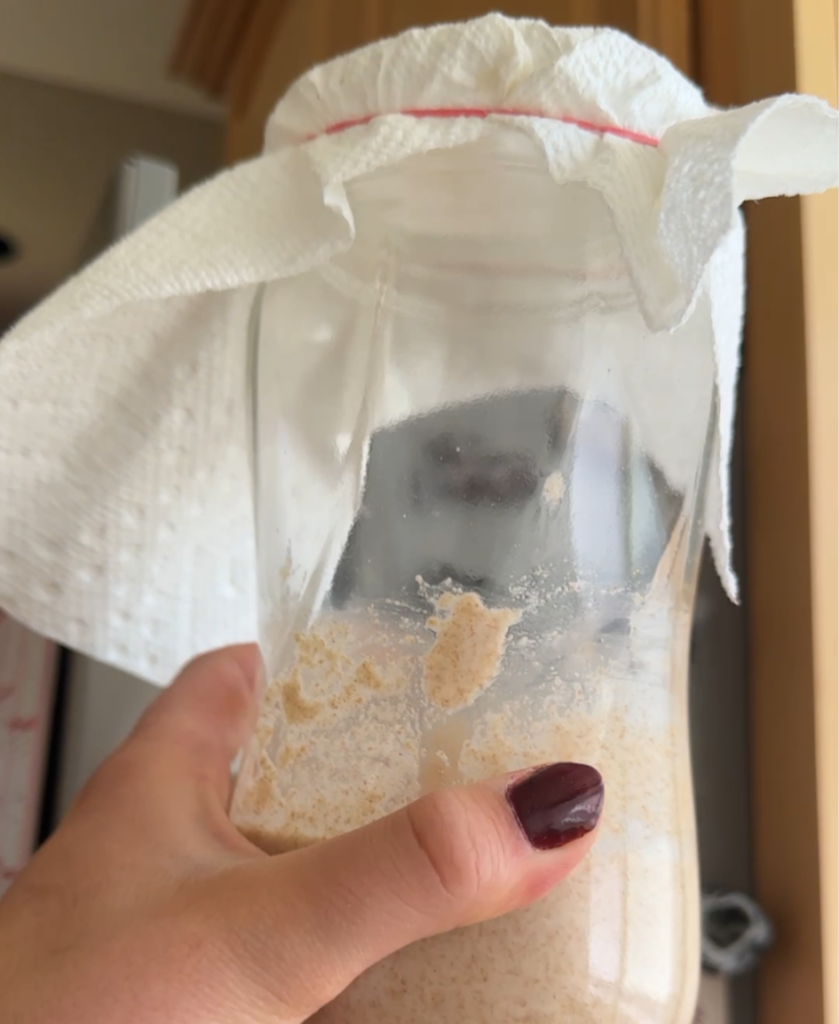
Making my own sourdough starter was one of the best decisions I ever made. It's been a year and a half now since I made my starter, and it has developed into a very active, healthy, and delicious natural leavening agent!
If you're thinking about going into sourdough, think and wait no longer. It is so easy and cost-effective to make your own starter, and especially satisfying to make your first delicious loaf with your own starter.
I love to tell people I made my starter from scratch because you can, and it's so easy!!!
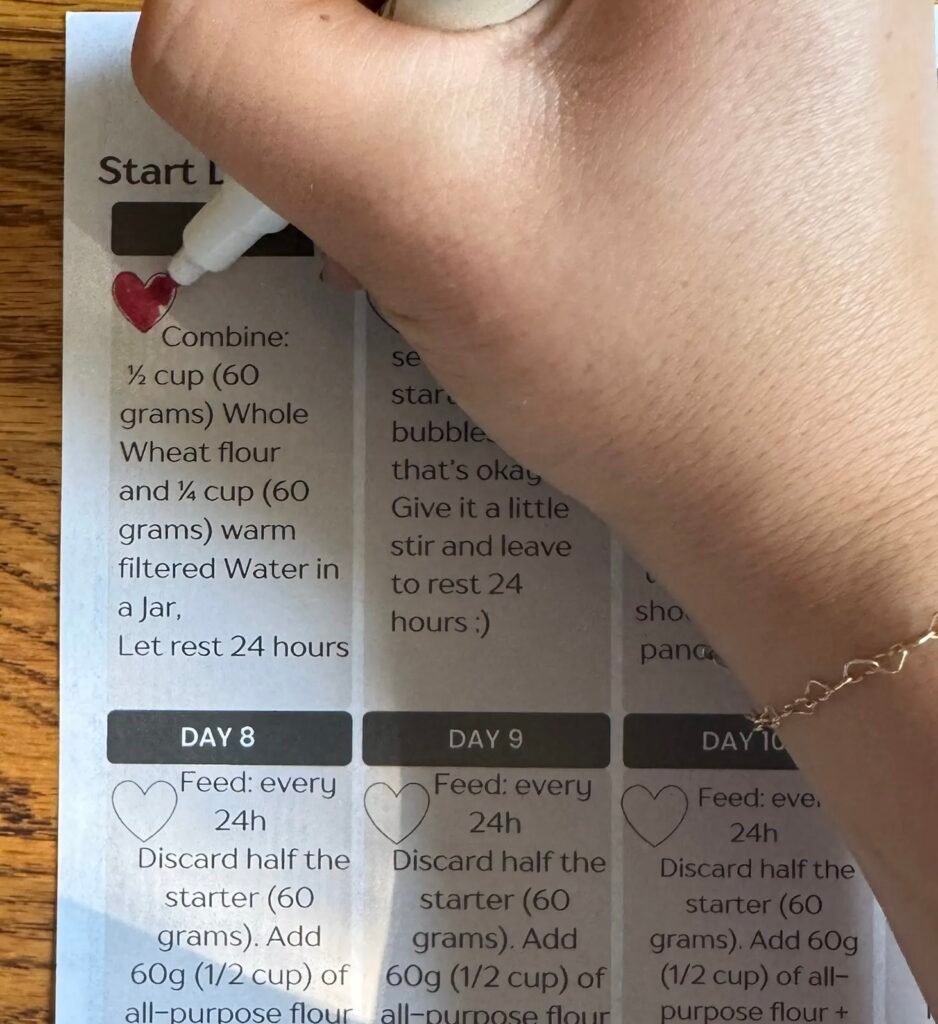
To keep track of the first two weeks of feeding and discarding your starter (which are the most vigorous), I've made a free PDF tracker. For each day you complete, you can fill in the little heart on the calendar!
Make Your Own Sourdough Starter
Here's an easy and organized way to track and make your own sourdough starter!
Ingredients
Equipment
Method
Day 1:
- Mix 1/2 cup (60 grams) whole wheat flour and 1/4 cup (60 grams) filtered water in a jar. Use a butter knife or spoon to stir. It should be a thick, pancake batter-like consistency. If you're not weighing ingredients, you may need to add more flour or water to reach the right texture. Cover with a paper towel, holding it with a rubber band. Let it sit in a warm place for 24 hours. I like to place mine on top of the fridge!
Day 2:
- Please glance at your starter today and stir it if you like. Then, put it back on top of the fridge. We'll start the more challenging work on Day 3!
Day 3:
- Discard half the starter (60 grams) into the compost or the trash. Not down the sink, as it can dry and clog. Add 1/2 cup (60 grams) all-purpose flour and 1/4 cup (60 grams) filtered water. Stir well. Cover with a paper towel and leave to rest for 24 hours.
Days 4-5:
- Now, we will start feeding every 12 hours. I fed my starter once right when I woke up and then once right before bed. This is not required, but if you feed it twice a day, your starter is ready in about a week; or if you feed it once a day, your starter is ready in about two weeks! Do the same process, discarding half the starter (60 grams) and adding 1/2 cup (60 grams) AP Flour and 1/4 cup (60 grams) filtered water, morning and night.
Day 6:
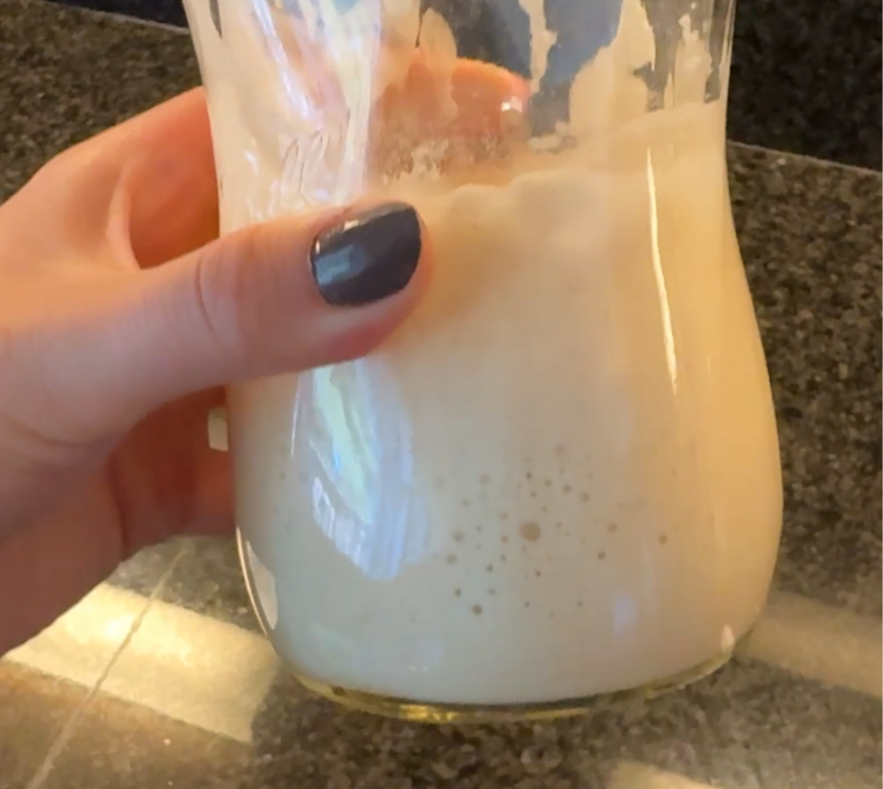
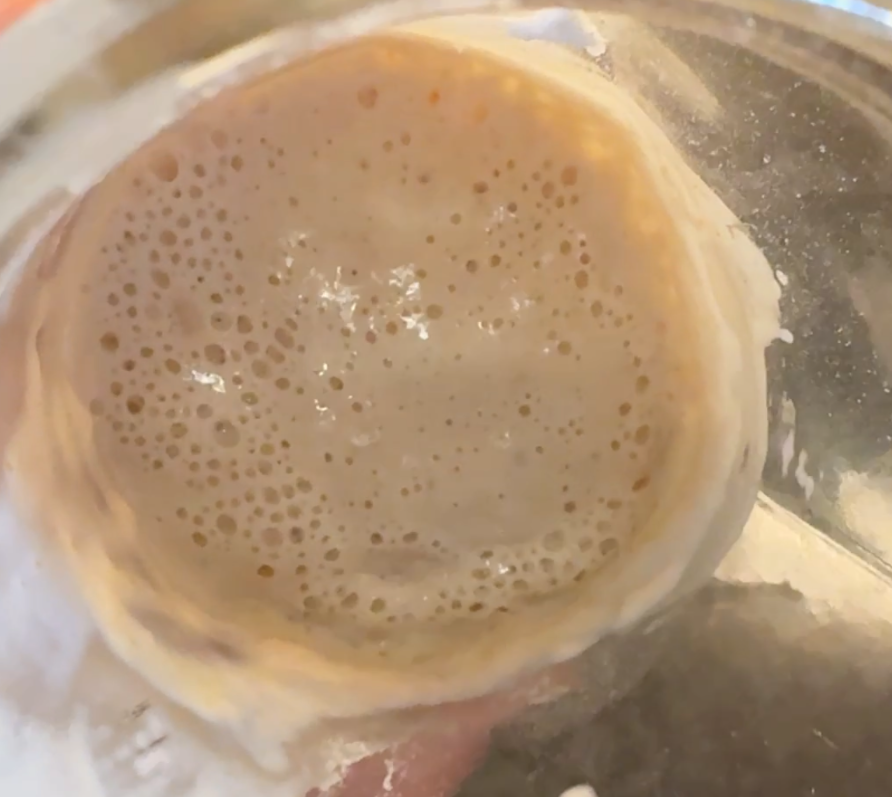
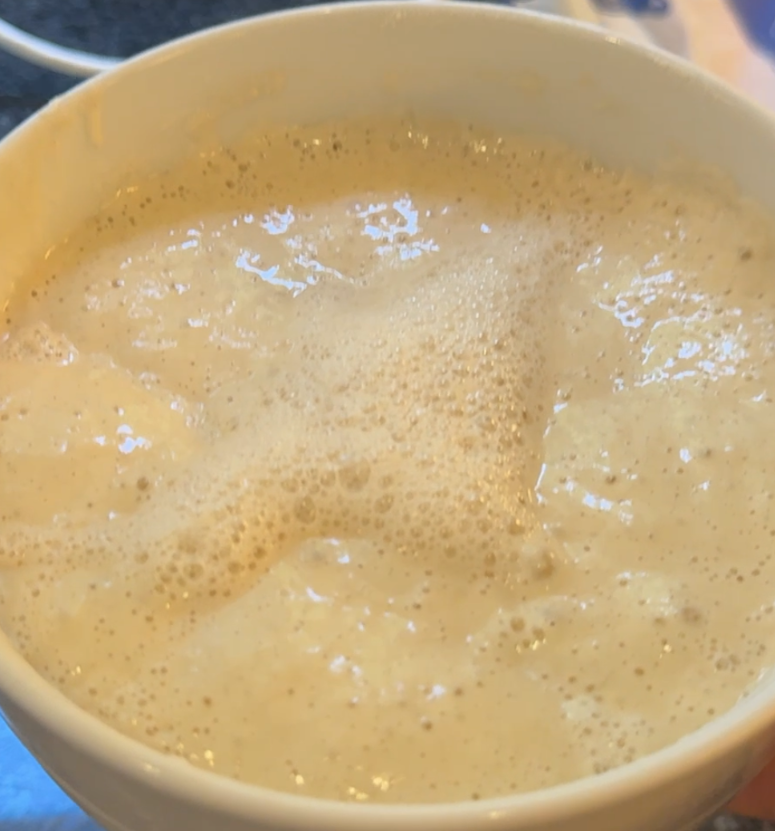
- Now, it's time to start looking for signs in your starter. It should be looking a bit more bubbly now, but if not, that's okay too. Starters are products of their environment, and everyone's is a little different, so it may take more or less time. Continue with the feeding schedule from days 4 and 5. Once your starter is doubling in size and getting very bubbly, about 6-8 hours (it may take up to 12 hours) after you feed it, it's ready to use.
Days 7-14:
- Continue feeding your starter twice a day. Your starter should double in size and get very bubbly about 8 hours after you feed it. Once it achieves this, it's ready to use. For long-term storage, keep your starter in the fridge with a sealed jar lid, feeding it the night before you plan to use it. If you plan to use it daily, you can keep it on top of the fridge like we were doing before, and feed it once daily.
Video
Notes
Tips and troubleshooting-
Watch your starter, not the calendar: I made my feeding schedule above two weeks, because it took that long the first time I made a starter from scratch. You'll know it's ready when it develops a tangy smell AND is doubling in size after you feed it. It should be bubbly, too.
What if I don't have a scale? What texture am I looking for in my sourdough? Make sure your starter is not too thick or too thin. I give weighted measurements to make this easier, so please use a scale. BUT, if you don't have a scale, that's okay. Just make sure your sourdough starter is pancake batter texture, a little clumpy, but still a little runny! This will give you the best result.
Is your starter not bubbling? Make sure you keep your starter at 70 degrees F. In a sunny window, on top of an appliance (like the fridge, microwave, etc.), or in the oven with the light on (1-2 hours). Some people also leave it in the car or the microwave with the light on.
Covering your jar: Air needs to get in. Use a paper towel to cover the top of the jar, then wrap a rubber band around the top to hold the towel in place. You could also use a regular towel, or loosely place the jar lid on top, but don't screw it in.
Think your starter is ready? If you don’t plan on baking every day, screw a lid on the jar and leave the starter in your fridge, feeding it 1-2 times per week. If you want to bake every day, feed your starter every 24 hours.
Discarding: Compost or throw away your starter, but don’t dump it down the sink, as it can clog. OR, look for fun sourdough discard recipes!!! I've linked some of mine above 😉