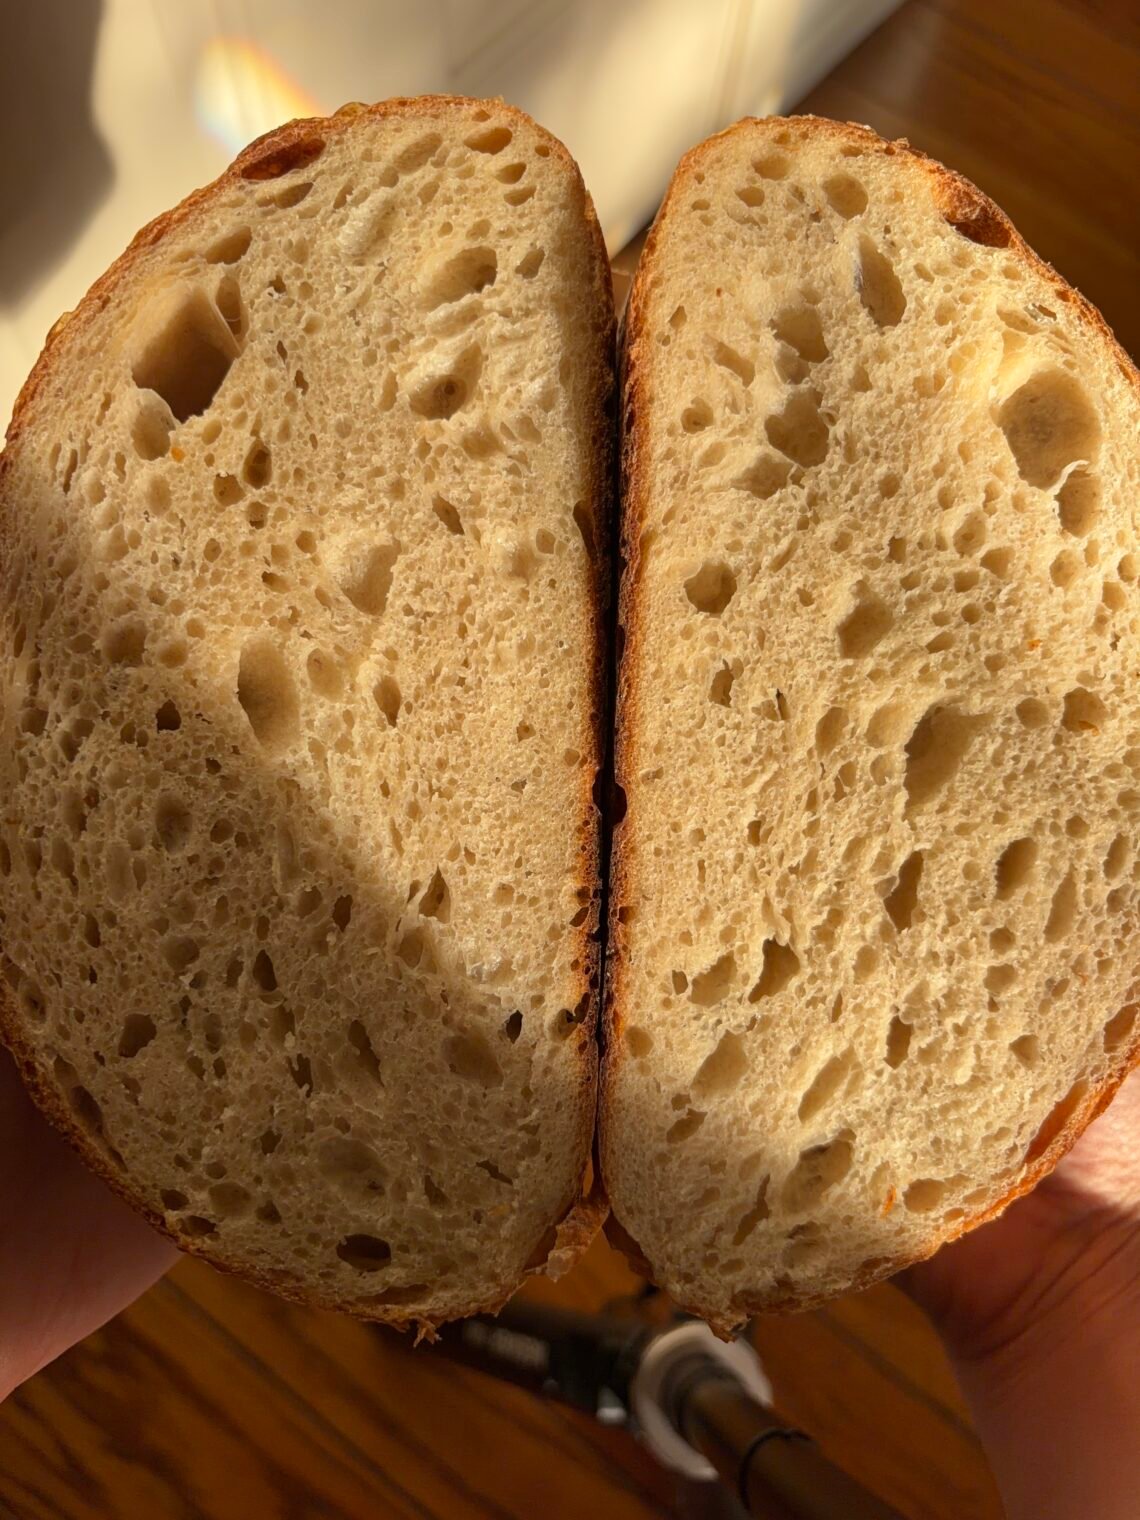
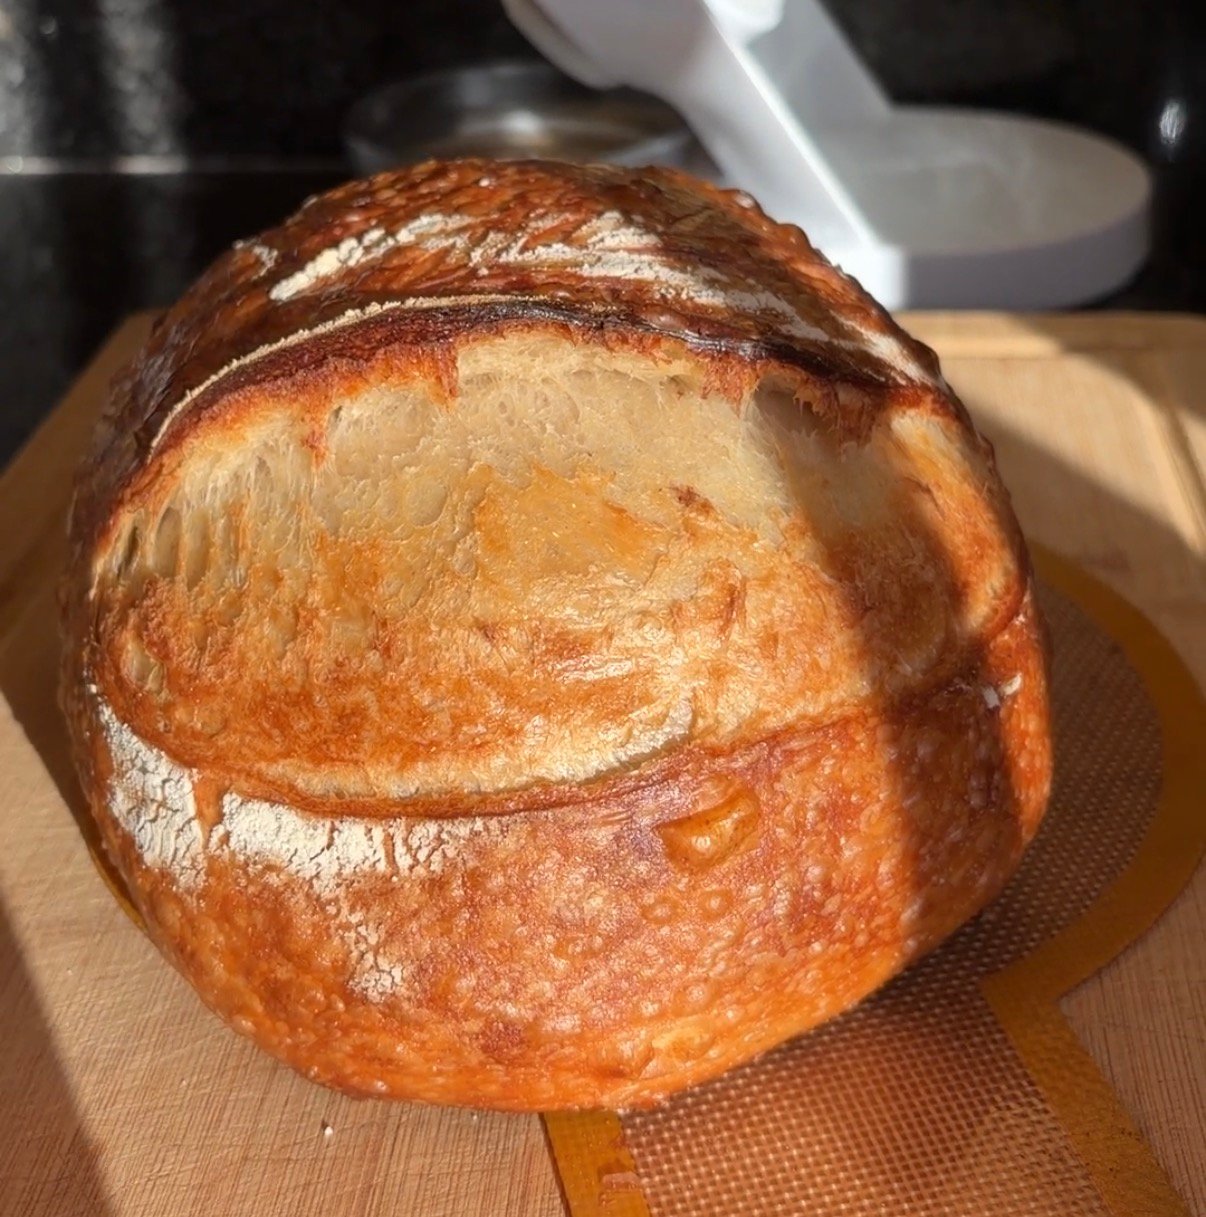
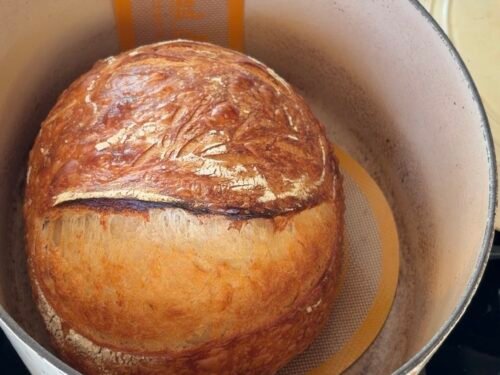
If I'm making a sourdough loaf to bring to a party, give to a friend, or for a weekday staple, it's this one. It's perfectly balanced between tangy, sweet, buttery, hearty, and salty. This is my tried-and-true recipe, and it hasn't failed me. No separate preferment to mix the night before; just feed your starter 10-12 hours before mixing the dough.
Special Ingredients: Notes and Tips
Bread Flour: This flour has a 12-14% protein content, which helps with gluten formation and structure in the loaf. It is vital for trapping gases, thus helping the loaf rise, as well as the ability for the loaf to be free-form when baking. Bread flour is almost always my go-to for sourdough boules.
Whole Wheat Flour: I like to add a little whole wheat flour to add depth of flavor as well as more bacteria from the flour, which helps feed the cultures in sourdough. If you don't have whole wheat flour, feel free to replace it with more bread flour or all-purpose flour!
Honey: I find the best sourdough has a balance between the tang from the fermentation and a little sweetness. My go-to is honey, but any natural, liquid sweetener will do. Date syrup or agave nectar are great, but I've also used regular white sugar or maple syrup. Maple syrup may affect the flavor profile, and white sugar is less liquid, so you may need to add a splash more water.
Olive Oil: Adding fat to the loaf gives it a buttery flavor and texture, and I've found this simple addition improves both.
Sea Salt: Use a fine sea salt that will mix easily into the dough.
THE BEST Sourdough Loaf
Ingredients
Equipment
Method
- Discard at least half of your sourdough starter. Feed with equal parts filtered water and bread flour, enough to have a little more than 100 grams sourdough starter. Leave to rise overnight.
- Heat the water. Heat it on the stove or in the microwave until warm, but still warmer than body temperature.350 grams Filtered water
- In a bowl, combine the bread flour, whole wheat flour, and water. Mix with a dough whisk until just combined. It may be dry and shaggy. Cover with a tea towel and leave to autolyse for 30- 45 minutes.450 grams Bread flour, 50 grams Whole wheat flour, 350 grams Filtered water
- To the dough, add the honey, sourdough starter, olive oil, and sea salt. Try to keep the starter and salt separate until you start mixing. With your hands, squeeze, knead, stretch, and combine the enrichments into the autolyse dough. This should take about 2-3 minutes of mixing in the bowl. Cover and let rest for 30 minutes in a warm, sunny spot.100 grams Active Sourdough Starter, 21 grams Honey, 15 grams Olive Oil, 11 grams Sea salt
- After the first rest, perform the first set of stretch and folds. With slightly wet hands, pull up towards your side on one side of the bowl. Fold the dough back down, allowing it to fall back down into the middle. Turn the bowl a quarter turn, and repeat. Go around the bowl twice, meaning you would do 8 stretch and folds total. Cover with a tea towel and leave to rest 30 minutes.
- After 30 minutes, do another set of stretch and folds. The dough will get progressively stronger, which will make it harder to pull and stretch. If this happens, just do your best; as long as the dough is moved, it will strengthen. Leave to rest for 30 minutes.
- After 30 minutes, do the last set. Again, go around the bowl 2 times or do 8 stretch-and-folds total. Leave to bulk rest.
- Leave the dough in a warm spot, covered with a tea towel. It will be done bulk resting when it is roughly double in size, and when poked, it slowly bounces back.
- When the dough is ready to be shaped, flour a clean surface. Set up your bread proofing basket. Flour the inside of the proofing basket with your preferred flour; I use bread flour. Pull the dough out of the bowl; if ready, it should slowly and easily release from the sides. Use a bench scraper and slightly wet hands if needed.
- Pull the dough into a small rectangle. Fold in the first side towards the middle, then the other sides. So, in thirds, fold the dough into the middle. Roll up from one of the ends, tucking and pinching the sides together to form a tight ball. Then, using your hands, push and pull the dough ball along the counter, seam-side down. Push and pull until the surface is taut with tension, and the seam has mostly sealed.
- Once taut, flip the dough ball down into the proofing basket, seam side up. Tuck and seal any leftover dough along the seam. Cover with a shower cap or plastic wrap. Set in the fridge to proof overnight.
- Preheat the oven and Dutch oven to 450 degrees Fairenheit 30 for at least 30 minutes.
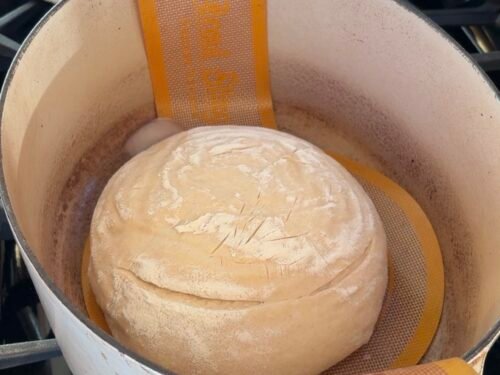
- Right before the Dutch oven is finished preheating, pull out your resting dough. Onto parchment paper or a dough sling, flip your dough ball out. Score with whatever design you'd like; in my video, I do wheat stalks, leaves, and, of course, a score at a 45-degree angle to make an ear. Make sure you do at least one score slightly deep, long, and angled to get the ear.
- Pull out the Dutch oven using oven mitts. Transfer the dough into the Dutch oven. Drop 2-3 ice cubes in, cover with the lid, and bake for 30 minutes.
- After 30 minutes, pull out the Dutch oven. Drop the oven temperature to 425 degrees Fahrenheit. Take the lid off and place the Dutch oven base back in.
- Bake for 8-15 minutes more. The crust should be a deep golden-brown color. Don't let it go too dark. I pulled mine out after about 9 minutes. Have a cutting board or baking pan ready. Once you pull the Dutch oven out, pull out the loaf carefully with oven mitts, picking up the sling or parchment to do so.
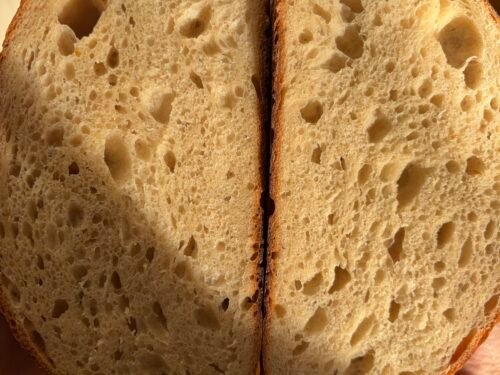
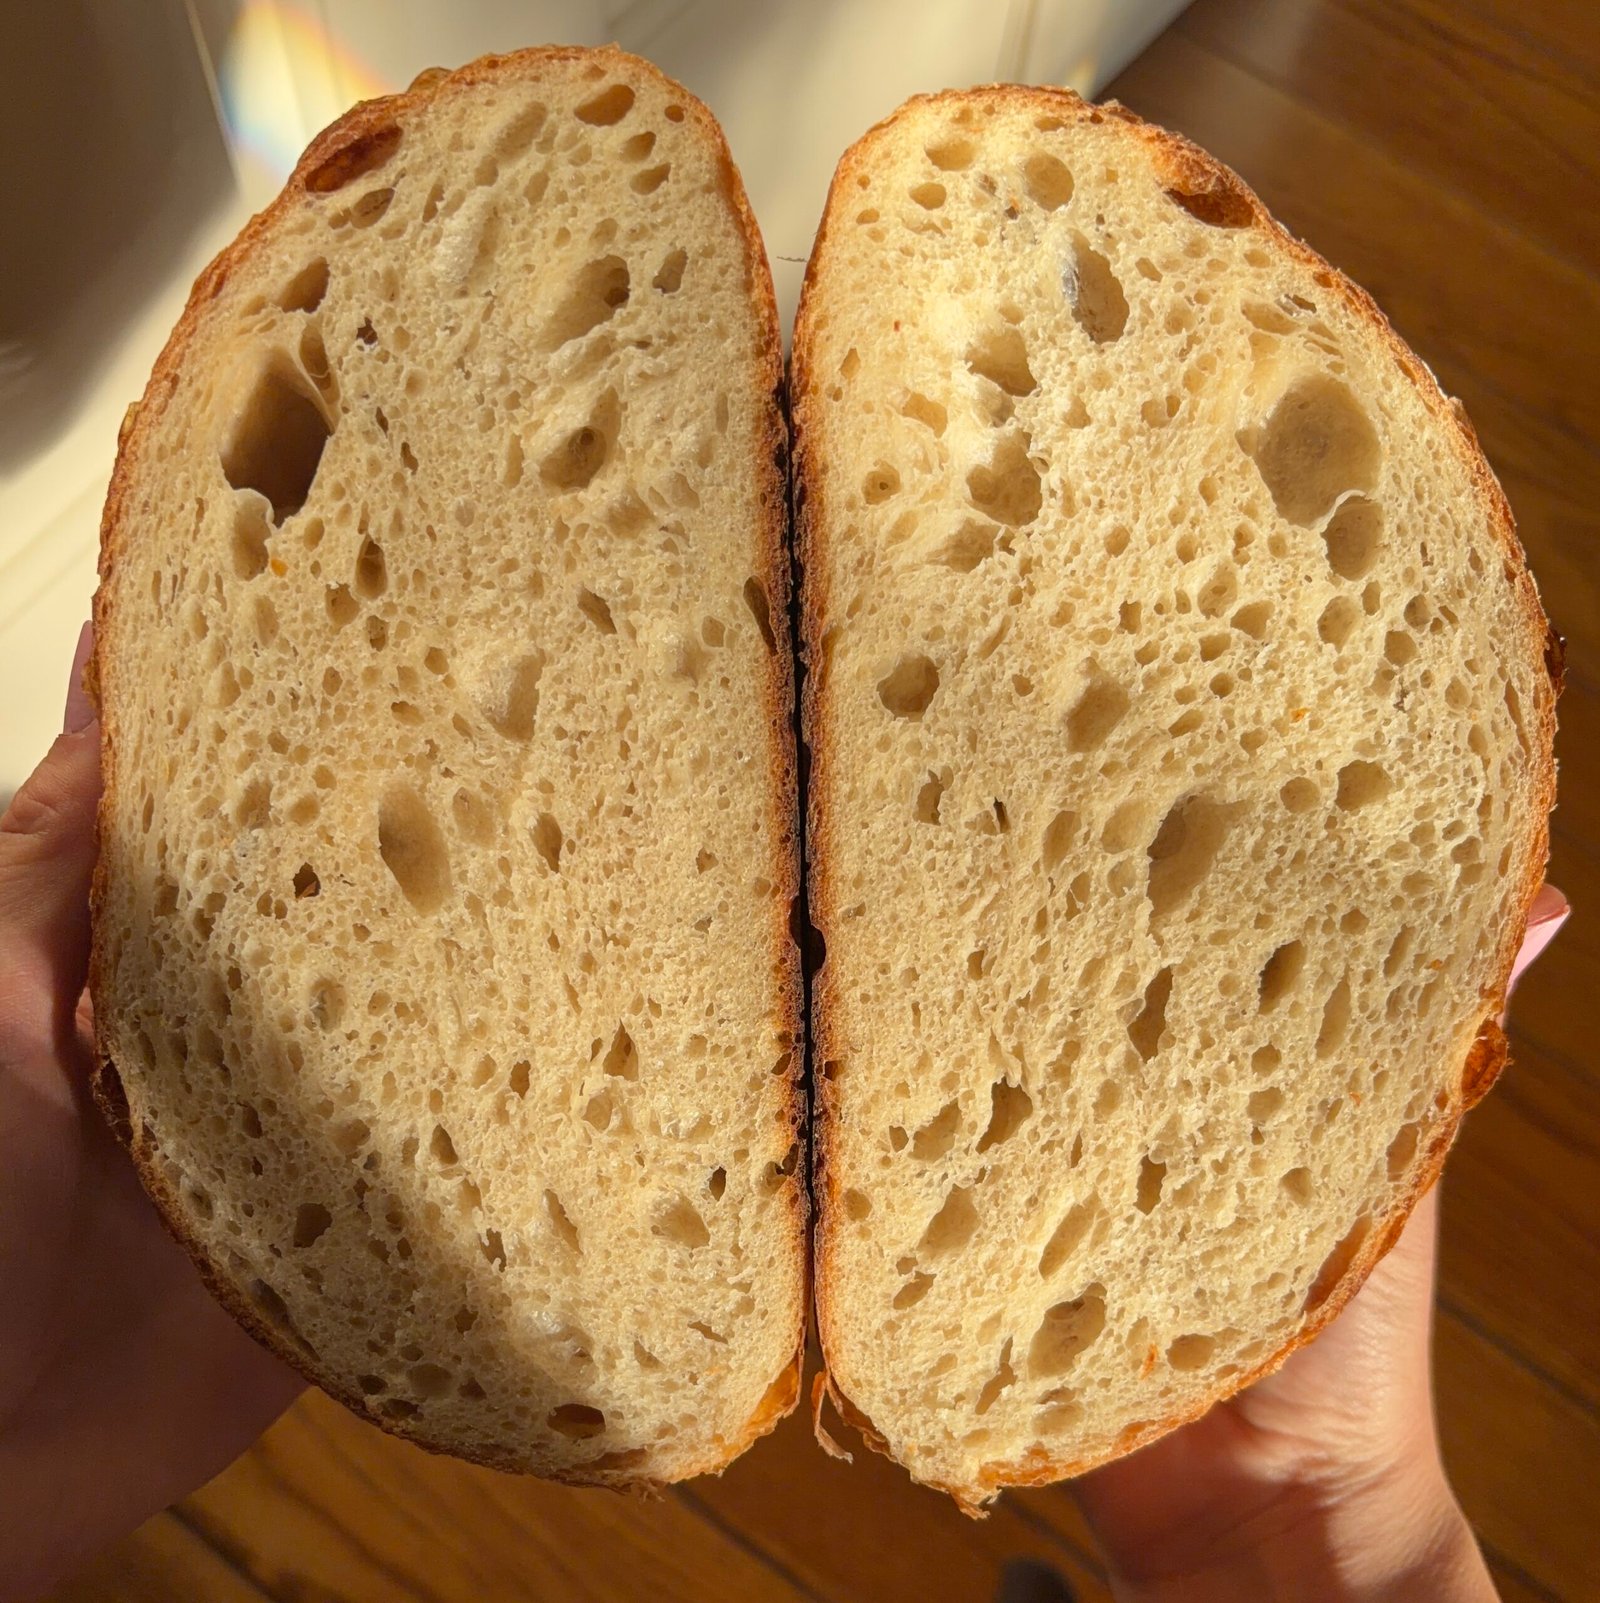
- Leave to cool completely before cutting. Be patient, but we want the loaf to fully cool so it isn't gummy or deflates.